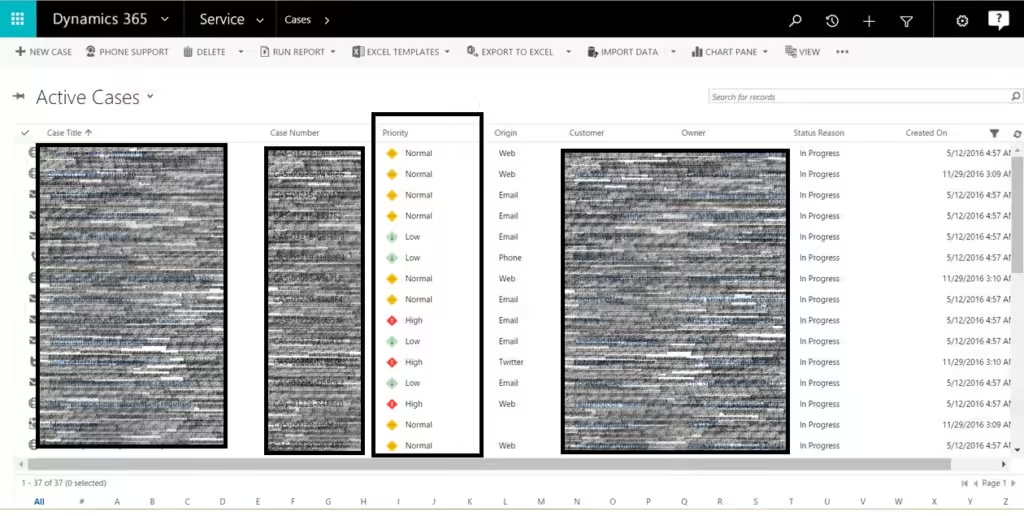
At times, providing the user with a visual representation of values can help them better understand and appreciate the importance of a particular status.
For Instance, We want to display an icon for the priority of the cases in the CRM, below is the process for it,
First thing , you have to upload the icons into the CRM as Image web resources, and its recommended to resize the images to 16*16.
The initial step involves uploading the icons to the CRM as Image web resources, resizing them to 16*16 for optimal display. Subsequently, create a JavaScript web resource and input your code. Provided below is an example of the code I have used:
function RowInfo(rowVal, userlcid) {
var imageName = "";
var tooltipValue = "";
var resultArray = null;
try {
var row = JSON.parse(rowVal);
var rowValue = row.prioritycode;

switch(rowValue){
	case 'Critical':
		imageName = "dm_critical1";
		tooltipValue = "Critical";
		break;
	case 'High':
		imageName = "dm_high1";
		tooltipValue = "High Priority";
		break;
	case 'Normal':
		imageName = "dm_normal1";
		tooltipValue = "Normal Priority";
		break;
	case 'Low':
		imageName = "dm_low1";
		tooltipValue = "Low Priority";
		break;
	default:
		break;
}
resultArray = [imageName, tooltipValue];
}
catch (e) {
}
return resultArray;
}
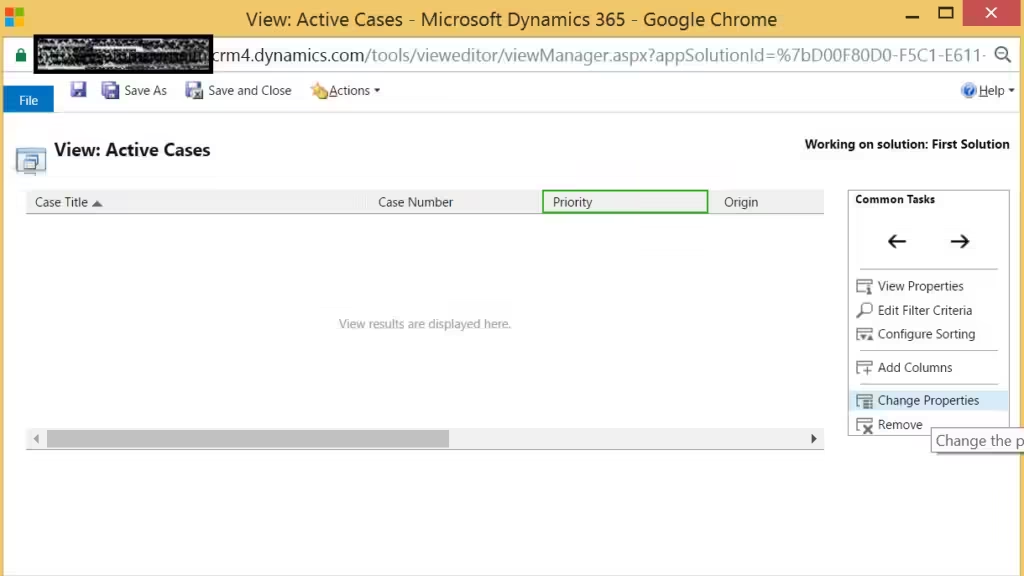
Next, choose the view you want to add the icons to, and make sure to add the field you want to add the icons based on it to the view, in my example i will add icons to the active cases view in the Case entity based on the priority.

Next, Choose the specific column you wish to modify, then select the option to Change Properties.

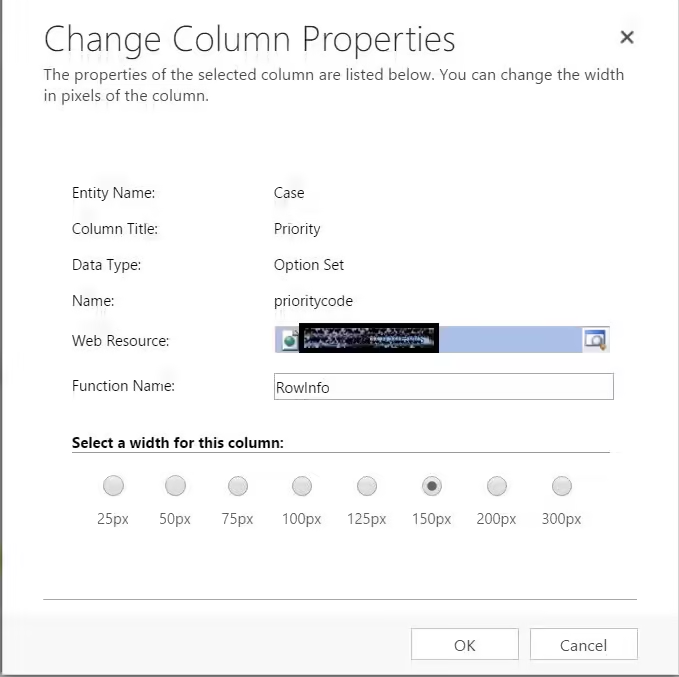
Add your JavaScript web resource and your function name, then click ok , finally save and publish.
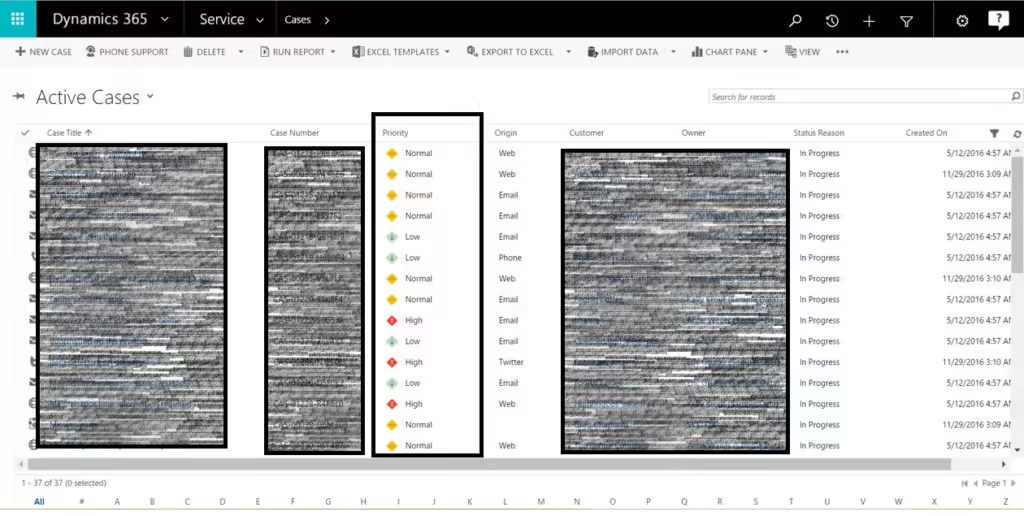
Output

Thanks for finally talking about >Add Traffic Lights / Icons tto
View columns in Dynamics CRM 365 – DynamicsMap <Loved it!