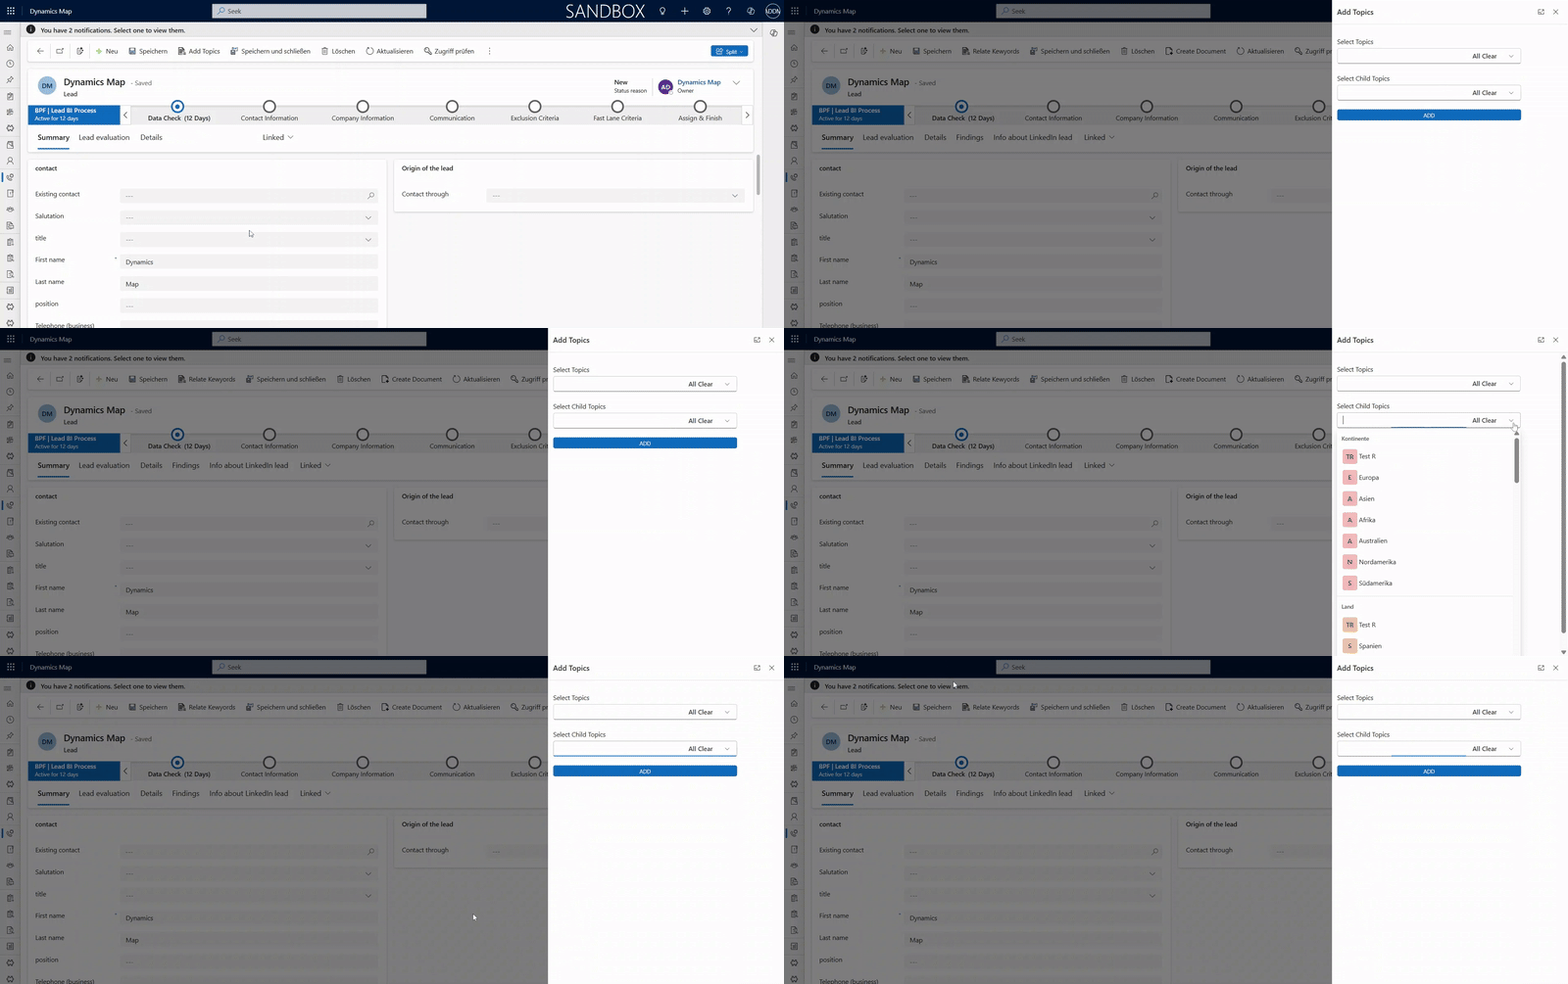
Want to take user interaction in Dynamics 365 CRM to the next level? With the Open Dialogue Pane, you can launch a custom HTML web resource directly within the app—no page navigation required. It’s perfect for displaying guided steps, collecting input, or showing dynamic content in context.

🔧Whether you’re enhancing productivity tools or adding rich, interactive elements—this is a must-know feature for any CRM admin or developer.
📌 Pro tip: Ideal for embedding HTML-based solutions and keeping users focused on the task at hand.
Have you used the dialogue pane in your CRM projects? Drop your thoughts below!
#Dynamics365 #PowerPlatform #CRM #WebResources #Dataverse #JavaScript #LowCode #UserExperience #DX
✨ Why use it?
It’s perfect for scenarios like:
- Guided processes (e.g., lead qualification, data entry walkthroughs)
- Showing contextual information (e.g., related records, knowledge base articles)
- Collecting user input via custom forms
- Displaying PCF controls ,interactive charts, tables, or embedded apps
🚀 Step-by-Step: Launching a Custom HTML Dialog in Dynamics 365 CRM
- Start by creating your HTML web resource in Dynamics 365, if you haven’t already.
2. Create Your Ribbon Button
3. Set up your JavaScript file to open the dialogue pane using the following code.
function OpenDialogue(primaryControl) {
    var formContext = primaryControl;

    // Prepare parameters to pass to the HTML web resource
    var dialogueParams = {
        entityLogicalName: formContext.data.entity.getEntityName(), // Gets the logical name of the current entity
        recordID: formContext.data.entity.getId().replace('{', '').replace('}', '') // Gets the current record's ID
    };

    // Define the input for the pane, pointing to your web resource
    var pageInput = {
        pageType: "webresource",
        webresourceName: "dm_dialogue", // Name of your HTML web resource
        data: JSON.stringify(dialogueParams) // Pass parameters as a JSON string
    };

    // Configure how the pane appears
    var navOptions = {
        target: 2, // '2' to Opens as a dialog ,'1' Opens in the main content area
        position: 2, // '2' for Right-hand side of the screen  , '1' for the center
        width: { value: 30, unit: "%" },   //'px' can also be used for static
        height: { value: 100, unit: "%" }
    };

    // Use navigateTo API to launch the pane
    Xrm.Navigation.navigateTo(pageInput, navOptions).catch(function (err) {
        console.error("Could not open dialog:", err);
    });
}
formContext: Refers to the current form where the script is executed.
dialogueParams: Captures the entity name and record ID to send to the web resource.
pageInput: Tells Dynamics which HTML web resource to load and passes the necessary data.
navOptions: Controls the look and feel of the dialogue (right side, 30% width).- Target :
- Specifies how the content should be displayed.
Target=1: Opens in the main content area (replaces the current view).Target=2: Opens in a dialogue pane (overlay or side panel).- In our case,
2is used to open a slide-in dialog—which is non-blocking and keeps the user on the current record form.
- Specifies how the content should be displayed.
- Position:
- Specifies the position of the dialogue pane when target is 2.
Position=1: Center of the screen (modal-style popup).Position=2: Side pane (typically on the right-hand side).- Using
2gives you a sleek side-pane experience, great for contextual information or step-by-step processes.
- Width/Height
- Used to control the dimensions of the pane.
width: { value: 30, unit: "%" } // or "px"height: { value: 100, unit: "%" }Unitcan be"%"or"px".
It’s especially useful for responsive designs or fixed layouts.
💡 Tip: If you’re using a full-height side pane, setheight: { value: 100, unit: "%" }to make it feel like part of the app.
- Used to control the dimensions of the pane.
- Target :
navigateTo: The API call that opens the dialogue pane with the given configuration.